 Google’s primary service is its search engine but the company also offers great services for webmasters which I will be going over in this post.
Such services allow you to get the most out of your website from being able to use Gmail, get site statistics with Analytics, diagnose site errors with Webmaster Central, manage subscribers with Feedburner and socialize with Google Plus.
These features are not completely necessary but they can help great deal in increasing your site’s visibility in the search engines which can ultimately lead to increased visitors and sales.
So let’s get started one service at a time.
1. Google Apps
The biggest benefit of using Google Apps is for Gmail which I think is the best email service on the web. It’s completely free too.
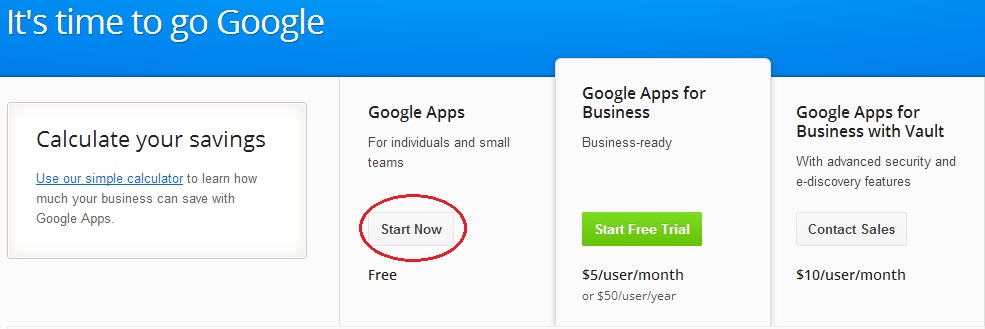
Go to the Google Apps page and click Start Now under Google Apps for Individuals and Small Businesses.
The next screen is fairly straightforward as you need to input information about your domain including some personal information.
Verify domain ownership
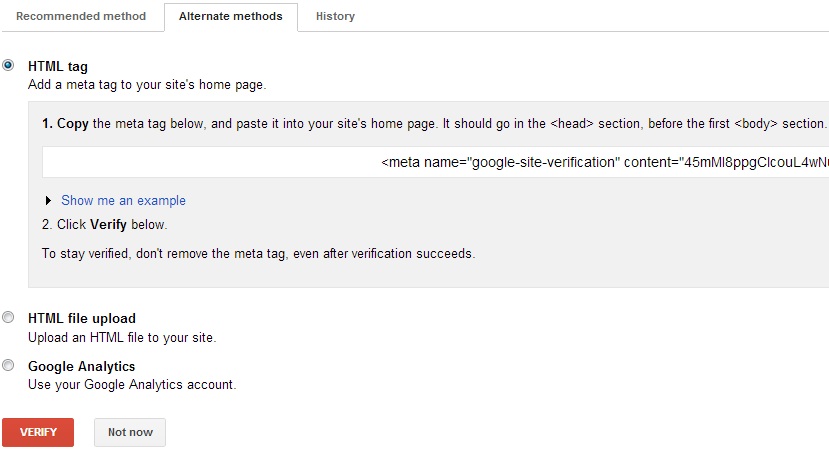
Before you can start using Google Apps, you’ll need to verify that you own the domain. There are different ways that you can verify but I’ll be adding a simple HTML tag to the site which is very easy through WordPress.
To do this, simply log into your WordPress site, go to Appearance > Editor > header.php
Then insert the code in the <head> section then click Update File. Once that’s complete, the next step is to get Gmail set up.
Click Direct email to Google Apps Email under the main Admin Control Panel.
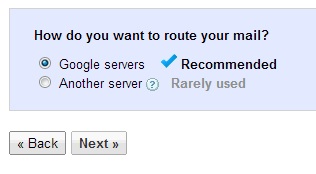
I would suggest using the Google servers to route your mail.
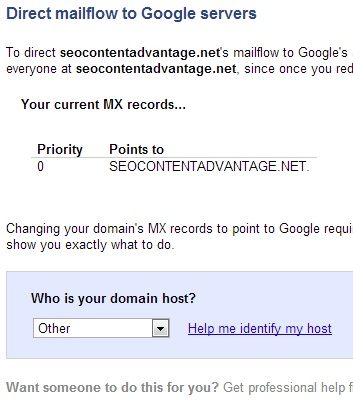
Click Next and on the next screen, we need to direct mail flow to the Google servers.
If you use HostGator for your hosting, then select Other from the drop down list.
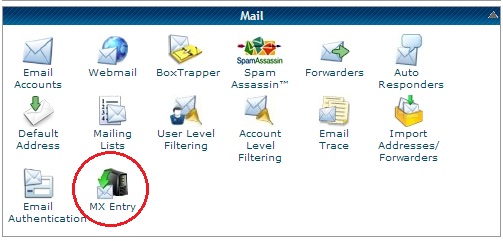
On the next screen, you’ll be given a list of MX records which you’ll then need to input by logging into your cPanel of your hosting company.
Make sure to select the right domain on the next screen. Then add in the MX records that Google has provided in its setup wizard.
Keep in mind that this process can take up to two days but generally the change happens much faster. Once everything is set up, you can now send and receive emails through Gmail.
Bonus
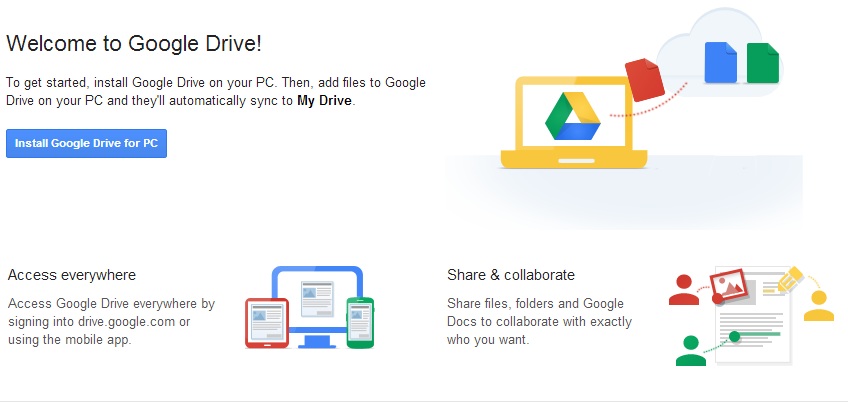
One thing I love about Google Apps, in addition to being able to use Gmail, is the ability to use Google Drive which allows you to create documents and spreadsheets all in the cloud. What this means is that you can access your documents anywhere in the world. You can also share and collaborate with other individuals.
To access this feature, simply go to Google Docs.
2. Google Analytics
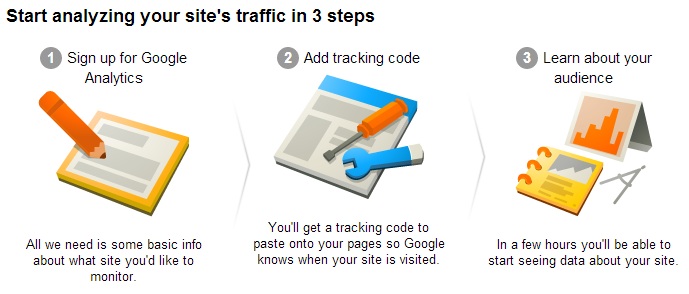
Now that we have Gmail set up, the next step is to install Google Analytics which is a service that allows you to track visitors to your website including where they came from, what keywords they used to find your site and which pages have the most traffic.
This is invaluable information as you can be able to track in real time how your marketing campaigns are doing by measuring how many unique visitors your site is getting.
To get started, go to Google Analytics and sign in using your Google account. On the next screen, you’ll be asked to input information about your website and once you’re done, click Get Tracking ID.
Now you just need to implement it into your WordPress site so that you can see visitor statistics right from your dashboard.
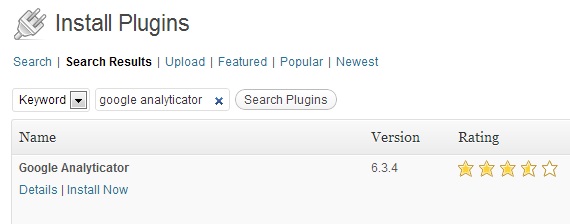
I did a bit of research on this and I’ll be using the Google Analyticator plugin.
The easiest way to get this installed is by going to your WordPress dashboard. Go to Plugins > Install New and search for Google Analyticator. Then click Install Now.
Then on the next screen, you’ll need to activate the plugin.
Sign in with your Google account and you’ll be given a code to paste when you activate the plugin. Click Save & Continue, then make sure the plugin is set to Enabled then click Save Changes. I would just leave this settings to default for now but you can always adjust them later on.
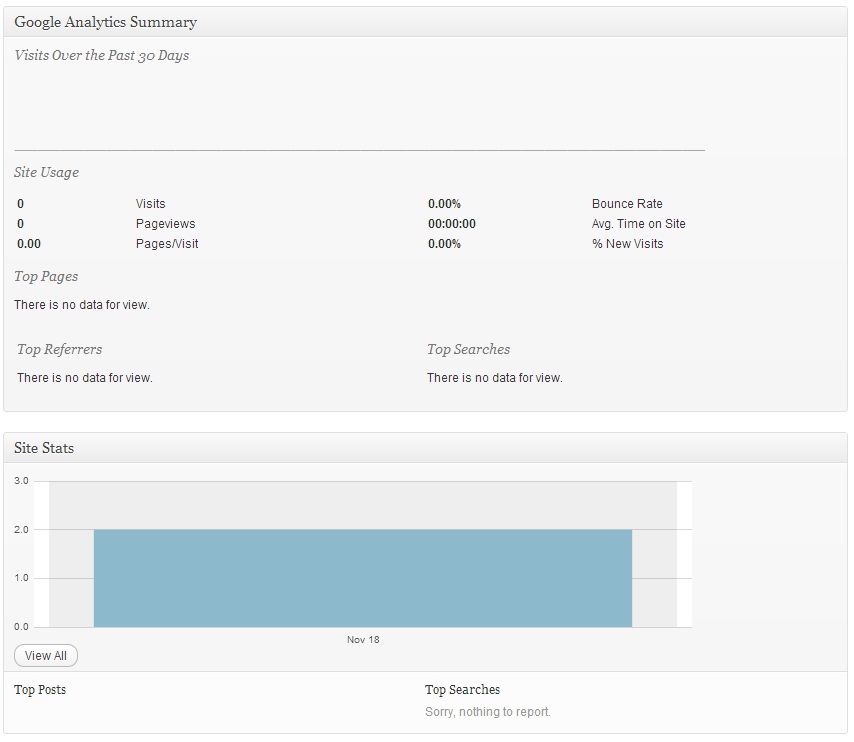
Now you can see your Google Analytics data right from your WordPress dashboard.
I don’t have any data here but that’s because I just recently installed it. Keep in mind that this is simply a snapshot of your website statistics so you’ll need to log into Google Analytics for more details.
3. Google Webmasters Central
Google Webmaster Central offers an array of tools which help webmasters diagnose any potential problems such as crawling or duplicate content errors. This service is especially helpful in giving a detailed view of how Google views your site.
For more detailed information, be sure to check out this Google Webmaster Central guide from SEOBook.
On the homepage, click Sign in to Webmaster Tools. If you already completed the last two steps of setting your site up with Google Apps and Analytics, then your site should already be added.
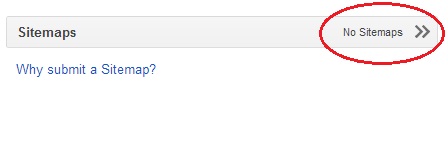
To help Google better crawl the site and index the pages, it helps to add a sitemap. Before we add it to Google Webmaster, let’s go ahead and install an appropriate WordPress plugin.
I recommend the Google XML Sitemaps plugin. Once it’s installed, go back into Google Webmaster, click your domain name and click the top right part.
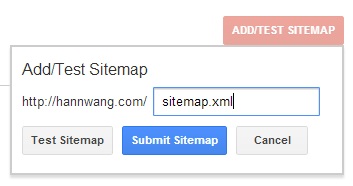
From the next page, you’ll be able to add in a link to your sitemap generated with the plugin we installed earlier.
Be sure to test it before submitting. If you have never used Google Webmaster before, then I would strongly suggest looking at the different features. If your site ever has a problem, this is the place to diagnose it.
4. Google FeedBurner
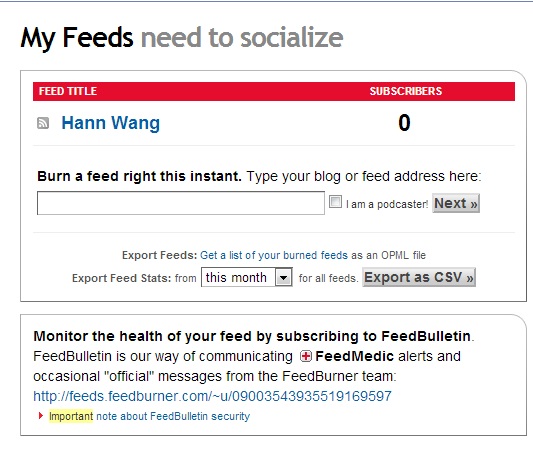
With FeedBurner, visitors to your site can be able to subscribe to your site via RSS so they can keep up to date whenever you make a new post. To get started, visit the Google FeedBurner site and log in using your Google account.
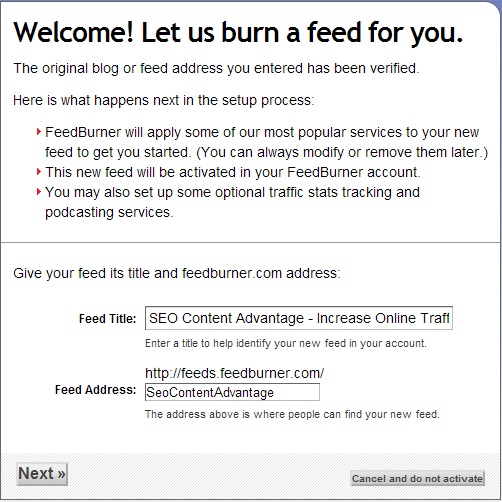
Then simply type in the URL of your domain and click Next. Then you’ll need to edit the Feed Title and Address.
Click Next and you’re done!
Most WordPress themes have a feature that you can use to include a link to your RSS feed. If you are using the Modernize theme, like I am with my SEO Content Advantage site, then it’s as simple as going into your Social Network settings and adding in the link.
However, if you are using a regular WordPress theme then you can always install the Social Media Widget and include links to your social networks in your sidebar.
This is how my site looks like now with the RSS button:
Now visitors to my site can choose to subscribe to my RSS feed or follow me on their social network of choice.
5. Google Plus
With over 400 million users, Google Plus is the company’s answer to the rising prominence of social media networks such as Facebook, LinkedIn and Twitter.
While the network is still relatively young, it’s still worth signing up for as you could use it to share your content and connect with potential clients for your freelance services.
Check out this Google Plus infographic for more details if you are still on the fence about this service.
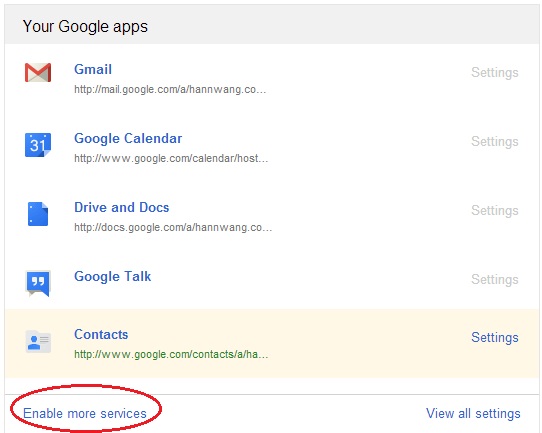
To get started, you can actually enable the service right through your Google Apps dashboard.
Under Your Google Apps, click Enable More Services.
Search for Google +, enable it and click Save Changes.
Now you can visit Google Plus and set up your profile. I would suggest taking some time here to really customize your profile and make it enticing.
Bonus
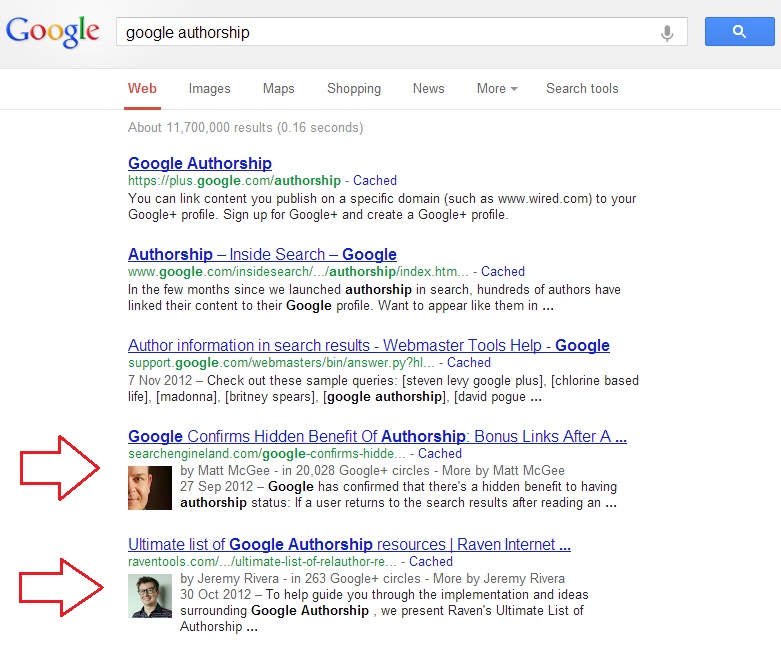
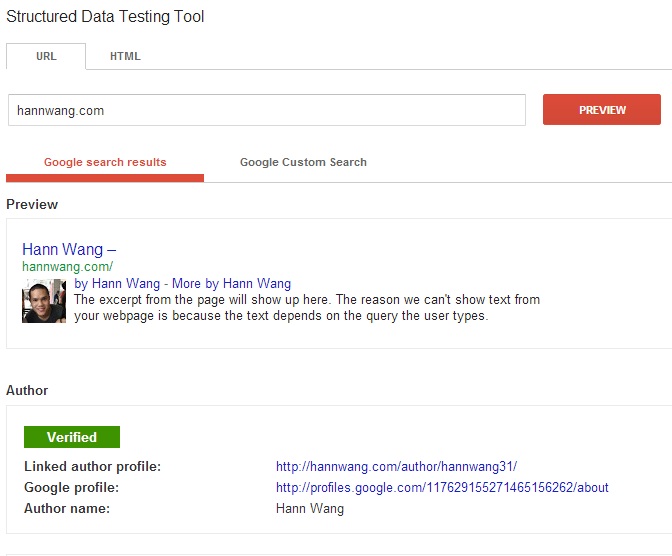
Have you ever noticed profile pictures next to search results?
These profile pictures definitely attract attention and can even help to increase click through rates to your site, especially if others in your niche are not yet implementing this feature.
One resource that I found online that makes this easy for WordPress sites is Author Sure.
Start by searching for and installing the AuthorSure WordPress plugin.
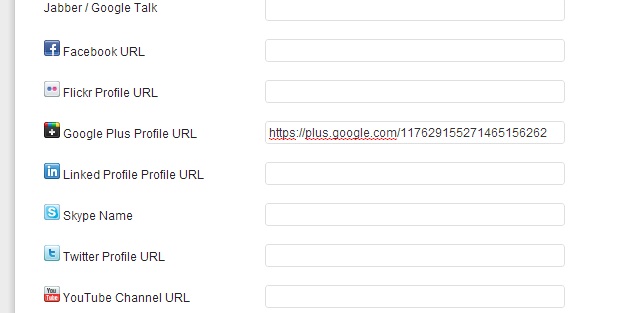
Then go Users > Your Profile and insert your Google+ profile URL.
Then click Update Profile.
On your Google+ profile, click the Profile icon then click Edit Profile.
Under the Contributor To section, add a link to your Author page on your WordPress site which should be something like http://site.com/author/user
On Google+ click on your Profile icon then click the Edit Profile button then click in the “Contributor To” section and add a link to your Author page on your WordPress site – your author page URL will be something like http://www.site.com/author/user
Then verify your posts with the Rich Snippets Testing Tool.
Once your profile is verified, then your website in the search engine results should display your profile picture.
